Wednesday, 13 March 2013

FUN & FESTIVE TASSEL GARLANDS


We’ve been crushing on tassel garlands recently, ever since we saw them in a friend’s wedding pics.

These garlands are all the rage right now. They are great for birthday parties, bridal and baby showers, and other special events, so we had a go at making a set of our own for the I Love Leroy stand at 2013 Design Indaba.


This tutorial below was super helpful and easy to follow. These are easy as pie with no-sewing. Here’s how you can make one too. Enjoy!


How to Make a Fabric Tassel Garland

I made my fabric tassels quite large (12-15″ long), but you can make them any size you like. Your final tassel will be just about half the length of the longer side. I cut my fabric rectangles around 24″X30″ for most of the tassels, or you could get 4 out of a standard yard by cutting them 18″X24″. I recommend you choose fabric that looks the same on both sides (a solid cotton, linen, or even a lighter weight fabric like a chiffon would be lovely) since they will both show on your final fabric tassel. So fold your fabric in half so the two shorter sides meet.

Make cuts in your fabric about an inch apart, stopping around 2″ to 3″ before the fold. This is much less tedious if you use a rotary cutter rather than scissors.

Now unfold your fabric and lay it flat.

Grab one uncut end, at the center, begin to roll your fabric up.

Continue until you have a tube with fringe at each end. As you roll, untangle the fabric fringe, and try to keep your roll as tight as possible, though it doesn’t need to be super-tight to look nice.

Pick it up, fold it in half, and pinch the top together so the fringe ends meet and the edge of the fabric is hidden between them.

Use a fabric scrap to tightly secure the top of your tassel.


This is what it looks like. Trim it so the ends look even if you need to.


Make another one,

and another one, and another one, and another one. Have a glass of wine or beer. Then make another one. And so on. Tie them to a string of some kind (I used a thick and sturdy jute because my tassels are quite large and heavy) with another little fabric scrap.

That's it!  So easy, a quick touch of fun to any party decor.


 I Love Leroy at the 2013 Indaba Design

Alternatively you can use tissue paper in whatever colour's best fit the occasion, party planners can create tassel garlands that are as cost-effective as they are cute.


We hope you enjoy making pretty tassel garlands for your next party too. 

Remember to hang them somewhere you can enjoy them. Between trees for pre-party drinks over the Easter holidays perhaps? We can’t wait!

We’d love to see how you get on, share a picture of your garlands and the fabulous event you showcased them at with us on the Mr & Mrs Facebook page!

Monday, 18 February 2013

John Gould's Toucan prints coming this week!


John Gould (1804 – 1881)
The Bird Man

John Gould was the world’s most remarkable designer, publisher and marketer of fine illustrated books on birds in the days when a single individual could encompass all these demanding tasks. The plates he designed have a subtle beauty of their own. In addition to being a highly successful business man, he became one of the most renowned ornithologists of his day.

Gould was born in a small fishing village in the county of Dorset, south-west England. Soon after this, the family moved to Stoke Hill, near Guilford, Surrey. Here, the young Gould gained an appreciation for the beautiful countryside and its abundant wildlife and he collected specimens. Later he became a taxidermist, with clients including king, George IV. By 1827 he had won a competition held by the newly founded Zoological Society of London and was duly appointed their official ‘Curator and Preserver’. In 1859, Gould and his young wife whom he wed in 1829 moved to 26 Charlotte Street (now 23 Bloomsbury Street), very near the British Museum.

When he saw the superb plates by the brilliant Edward Lear for his adventurous but never to be completed Illustrations of the family Psittacidde, or parrots of 1830-1832, John Gould was so impressed that he was inspired to produce a large format book of his own. Lear was one of the first artists to use the recently developed technique of lithography. In this, the artist is able to draw directly with greasy chalk or ink onto thick slabs of smooth limestone, which could then go straight to the printer, obviating the need for employing a skilled specialist to engrave the drawing.

Gould’s first work, A Century of Birds hitherto unfigured from the Himalaya Mountains of 1830 – 1833, contained plates of 100 bird species. These were made from drawings by his wife Elizabeth, fresh both to marriage and the technique of lithographic drawing. The venture proved so successful, they set about planning more works.

Gould’s achievement was astounding: in the 50 years between 1830 and 1880 he was responsible for a total of 18 imperial folio works, in 49 huge volumes, not to mention more than 300 smaller works, scientific papers, notes and memoirs.  


GOULD: Ramphastos Inca.
Inca Toucan

GOULD: Ramphastos toco.
Toco Toucan

Toucans in Art
That Gould should choose this group of birds as the subject of his monograph is not surprising, since these are fascinating, exotic creatures guaranteed to arouse curiosity and interest. Furthermore, despite their odd and rather ungainly appearance, they are stunningly beautiful, with the complex bold, multi-coloured patterns of their plumage and spectacular bills. Of course, being so striking and distinctive, toucans have played part in the myths and art of Native American people, often being associated with the sun. In Mexico, the Aztecs believed that the bill of the species now aptly known as the Rainbow-billed Toucan was actually created from rainbows, as a reward to the bird from the gods for acting as messengers. The bird figured in rain-making rituals, during which those beseeching the gods to send rain wore headdresses made of toucan feathers. The Maya of Central America and the Inca of Peru also revered toucans and depicted them in many works of art, ranging from ceramics to carvings.


GOULD: Ramphastos culminatus
Culminated Toucan

GOULD: Ramphastos erythrorhynchus
Red-billed Toucan

GOULD: Ramphastos vitellinus
Sulphur and White-breated Toucan

BTW - Tropical toucan prints led the way at the London Fashion Week Issa London SS13 collection. Spruce up any interior with these beautiful prints!

Our new Soil prints

Just arrived in store!

These exclusive canvas bags are 100% made in Cape Town (The 2014 World Design Capital) by two sisters; a designer and illustrator with an eye for detail. They share a love of simplicity and an aesthetic sense that comes from a lifetime of shared experiences; add to this a touch of sibling rivalry and a deep understanding of each other’s thoughts and ideas, and you have Soil Design. 

Time to hit the beach with our new accessories!

http://soildesign.co.za


Thursday, 14 February 2013

Indian Block Printing

Indian block printed gowns in the Mr & Mrs store


The art of Indian block printing is an ancient tradition dating back to approx. 2600 BC. The earliest and the slowest of all printing techniques, it gives a result so fine and so exquisite that it is unobtainable through machine printing. It has survived from ancient times due to the beauty of handmade products. From traditional Indian designs to modern versions, block-printed fabrics add solid style with pattern and texture.
The process of block printing takes time, team work and immense skill. Block prints can range from a simple, single-color print to complex, multiple coloured, bold and striking prints. The three main tools of block printed fabrics are the wooden blocks, the fabric and the dye. Traditional block-printing is hand printed, using vegetable dye - the oldest of colouring techniques.
The hand blocks are carved out of wood and are the simplest of printing devices. It can take five carvers up to three days to create an intricate design in a block of teak for use as a printing block. Printers may use up to 30 blocks to complete a design.
The traditional vegetable colours were red, yellow, indigo and saffron made from pomegranate rind, madder and turmeric. The fabric is normally cotton, though silk is also used. The fabric is stretched over a table, fastened with pins, and the craftsmen begin the printing.

Close up of Indian block printed gown
Each colour is printed from a separate wooden block carved to print that specific pattern. Separate blocks are required for each of the colours used in a design and it is not unusual to have four or five colours in a professional design. It can take twenty people, each doing a separate task, up to eight hours to prepare a single block printed garment. With all this, the results can only be unique.
In direct hand block printing the carved wooden block is dipped in colour and then pasted and the colour printed on fabric. Sometimes an outline of the pattern is stamped in black and then the colour filled in. In resist printing the wooden block is smeared with wax or mud and then imprinted on fabric. The fabric is then dyed and the wax melted and the mud washed to reveal original block patterns. The whole process of imprinting yards of fabric is time consuming and takes the collective expertise of the printers to get the continuous evenness of the pattern.
Printing is done from left to right. When the printer is using the direct block print method, the printer dips the block into the dye then presses it onto the fabric. The printer slams the back of the block hard with the fist to create a clear impression. Then the printer moves the block to the next portion of fabric to be dyed, using points on the block to serve as a guide for the placement of the block.
As they work, the printers pull a wooden cart bearing their blocks along with them. The wooden blocks can be interchanged from one piece of fabric to another, creating different patterns. Custom designs and different colours can be used from one fabric to another, creating still more individual work.
Each colour of a design is done by a different printer, coming behind the one before and repeating the process. The process requires teamwork, as each subsequent printer must place the block accurately to create a beautiful, whole pattern.
Once the pattern is finished on the whole length of fabric, the piece is treated to fix the dyes. First, the fabric is dried in the sun. Once dried, the fabric is rolled in newspapers and steamed in special boilers. After steaming, the fabric is washed, dried in the sun again, and ironed. Each of these steps contributes to fixing the pigment and making the colours rich and vibrant.
And it seems to work. This process of block printing has been used for centuries and is still in vogue. These versatile and unexpected prints can transform home decor, the secret in balancing the elements of the room lies in keeping the same colour combination and making sure the scale and space of each pattern is different. Lately it seems like you can't turn your head without finding a mixed pattern trend, so don’t be afraid to mix block-printed fabric with other patterns and styles.


In order to create a pattern, areas of cloth have to be prepared to resist the dye. This is usually done by block printing with a paste that prevents the dye from penetrating the fabric, but other methods such as tie-dye are also used.

As each length is printed it is dusted with saw dust to stop it from smudging before it is totally dry. The printed cloth is then dried in the sun before dripping in the vat.


As the cloth is drawn out it looks greenish, but on exposure to the air the indigo oxidises and regains its original blue state. Each time the cloth is dipped and exposed to the air a darker shade of blue is achieved. Often the cloth is reprinted with a different block to reserve patterns in a lighter blue before dipping again.

Tuesday, 11 December 2012

Our Christmas wish list

Eeeek!
 Christmas is only two weeks away so we thought we put together a little wish list to help some of you who leave your shopping to last minute. All the products are currently available in store and we've even made these awesome gift vouchers if you still can't decide.


Tuesday, 6 November 2012

New jewellery and other pretty things

Summer is here and we're got some great new products in store.
First off our single and double stone bracelets are now available in new summer colours.


Chalcedony and Moonstone.


Turquoise, Chalcedony, Moonstone, Rosequartz and Green Chalcedony
 
We're also got new prints and journals from Essie.


Hope you like these things as much as we do.
 
x
 

Thursday, 1 November 2012

Our favourites from Kamersvol


This year Kamers vol Geskenke hosted another wonderful event, which turned out to be bigger and even better than previous years and of course being held on the beautiful  Lourensford Wine Estate didn't hurt either. All and all it was a huge success and we were luckily enough to have a stand and join in with the festivities. It was great to see how creative our little city is, there were so many cool things I could have bought but instead I took a few photos which will have to do for now.


Lourensford Wine Estate


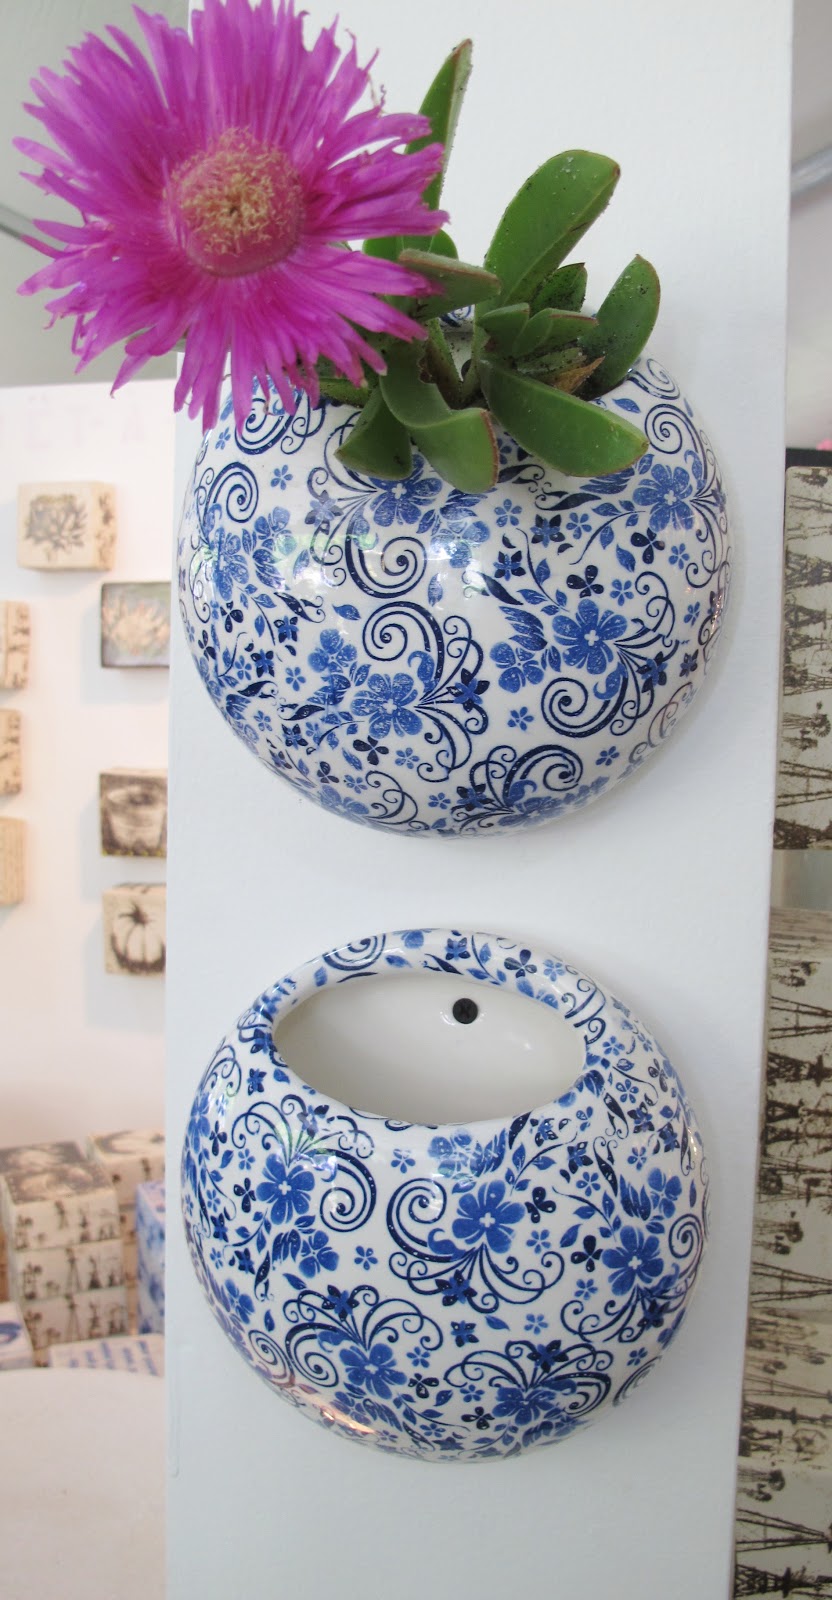
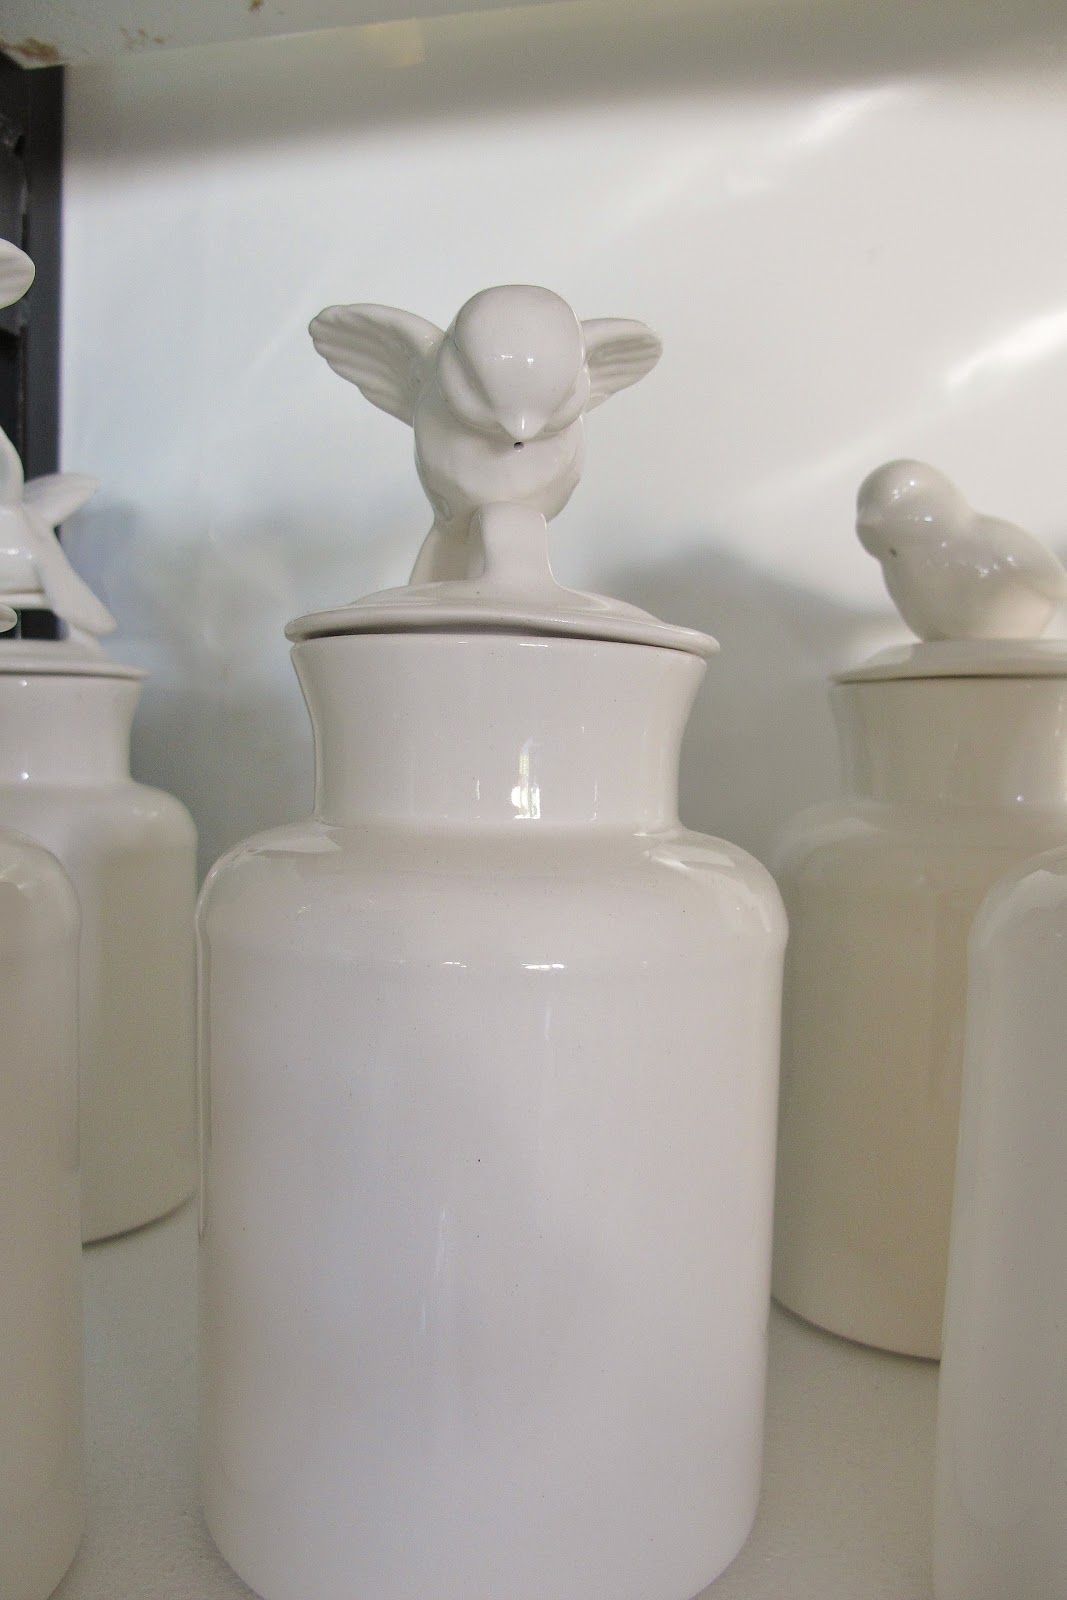
Here are a few of our favourite things:


Love Milo


 Skermunkil


Pret - a - Pot

 
Sprokie

These cute cups, jars and few others are now available at the store.
 
If you didn't make it to Kamersvol this year be sure to go next year, you won't be disappointed.
Thanks to everyone who supported  us, we had loads of fun and can't wait to do it all again.
 
xxx